Where to Buy
https://www.etsy.com/listing/4514764141/maira-typhoon-wind-sim-compact-dual-fan
Fan Options
Bring Your Own Fans (BYOF)
For users who already have compatible 140mm PWM fans or want to experiment with their own fan setup. This version includes the left fan assembly, right fan assembly, controller, wiring, and mounting hardware, but does not include fans or power supplies. The fan grills are included as part of the left and right fan assemblies. Power supplies are not included with the BYOF version because power requirements depend on the fans selected.
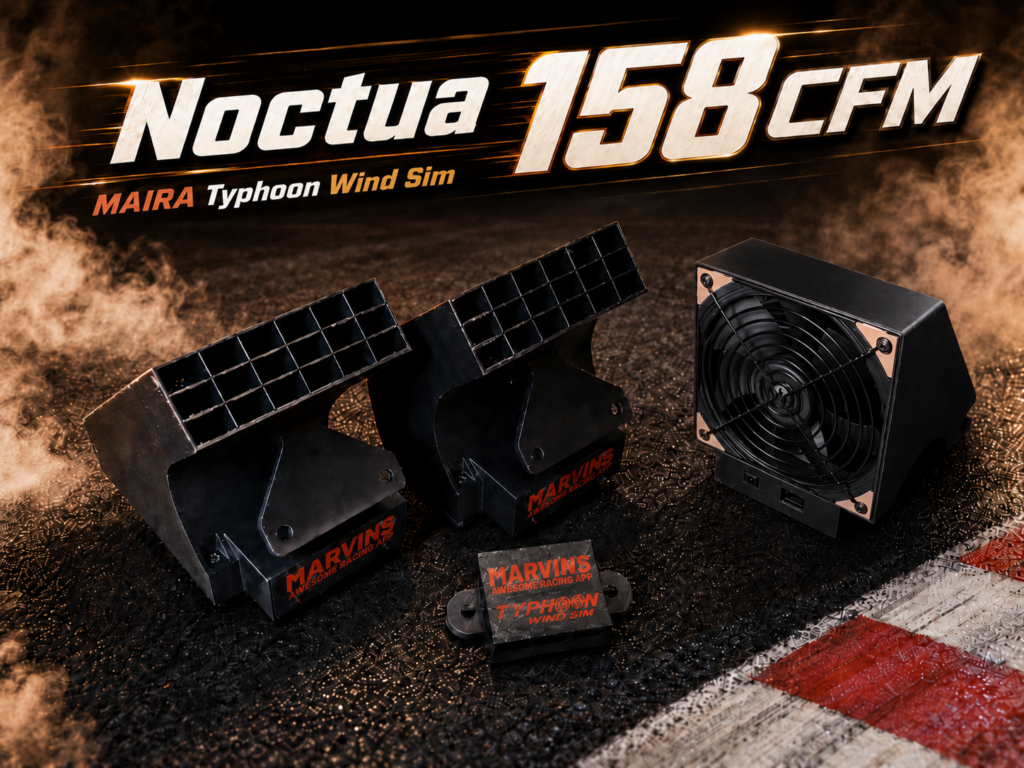
Noctua NF-A14 industrialPPC-3000 (158 CFM)
The recommended balanced option. These fans provide strong airflow with excellent build quality and much more reasonable noise levels than the extreme-output option. They can also spin down to 0 RPM when not in use. Includes two 12V 5A DC power supplies with U.S. wall plugs.
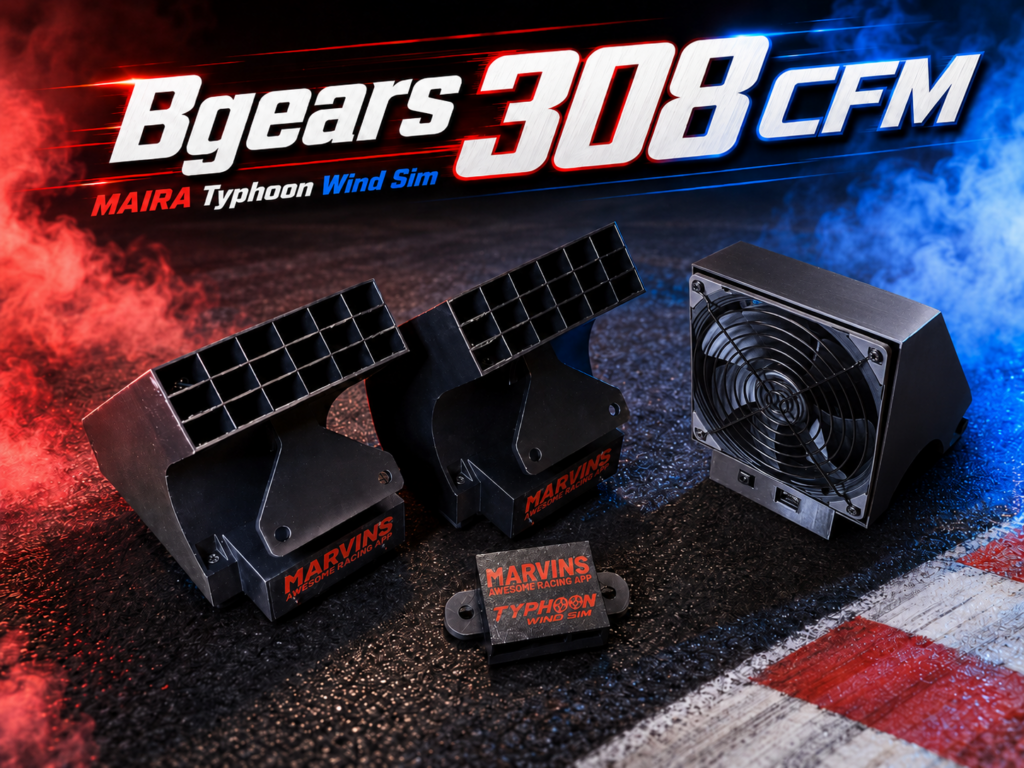
Bgears b-Blaster 140×38 Extreme Speed (308 CFM)
The maximum airflow option. These fans move a serious amount of air and are best for users who want the strongest wind effect possible. They are loud at maximum RPM and require more power. Unlike the Noctua fans, the Bgears fans do not spin down to 0 RPM when idle; they maintain a minimum RPM even when the wind effect is off. To fully turn them off, plug the power supplies into a switched power strip or switch off power to the fan system. Includes two 12V 5A DC power supplies with U.S. wall plugs.
Choose the Noctua version if you want the best balance of airflow, quality, noise, and idle behavior.
Choose the Bgears version if you want maximum airflow and do not mind fan noise or the fans continuing to spin at a minimum RPM while powered.
Choose the Bring Your Own Fans version if you already have compatible 140mm PWM fans or want to customize the fan setup yourself.
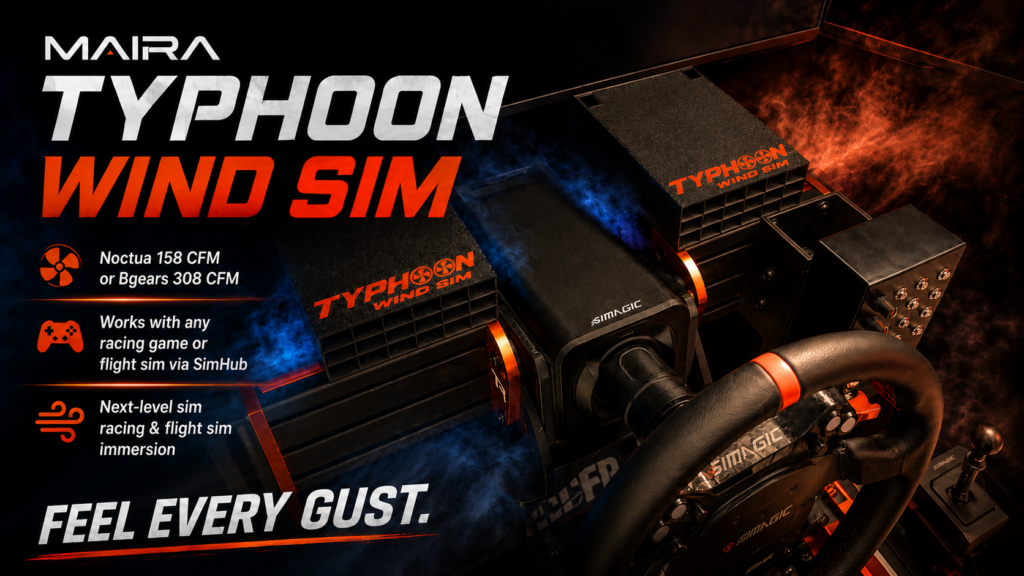
Overview
Feel the speed for real.
The MAIRA Typhoon Wind Sim is a compact, fully assembled dual-fan wind simulator for sim racing and flight simulation. It turns vehicle speed and simulator telemetry into physical airflow, adding an extra layer of immersion that force feedback, bass shakers, and screens cannot provide by themselves.
Unlike many wind sims that use long tubes, bulky ducts, or large round outlets, the Typhoon Wind Sim is designed to be sleek, low-profile, and stealthy. The fan pods mount directly on the aluminum extrusion rails beside your wheelbase / wheel deck, placing airflow close to the driver without needing long tubes that take up space and reduce wind strength.
No soldering. No 3D printer. No Arduino tinkering. Just mount the left fan assembly, right fan assembly, and controller, connect USB, connect power, configure the free software, and drive.
The Typhoon Wind Sim is designed primarily for aluminum extrusion sim rigs. Each fan assembly and the controller include M8 mounting points, and the kit includes the required M8 bolts and T-nuts for common aluminum profile rigs. Other mounting styles may be possible, but may require DIY brackets or custom mounting.
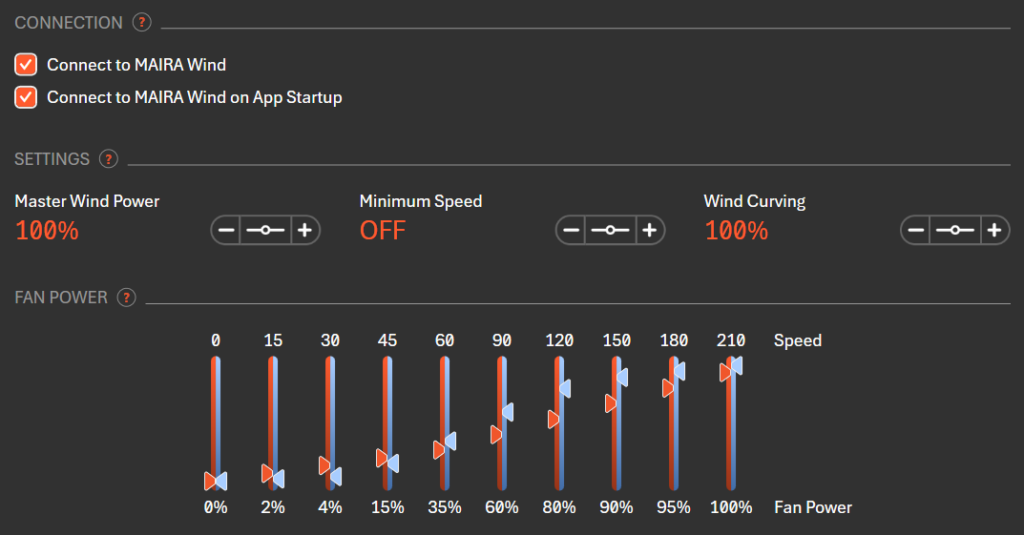
Software Support
- Direct support in the free MAIRA app for iRacing
- Support for other racing games and flight simulators is possible through the free MAIRA SimHub plugin
- Independent left and right fan control
- Configurable wind response
What’s Included
- Left fan assembly, including fan housing and fan grill
- Right fan assembly, including fan housing and fan grill
- Fan controller assembly
- USB extension cable
- Fan/controller cables
- M8 mounting hardware for aluminum extrusion rigs
- Typhoon Wind Sim logo printed on each fan pod, unless the custom logo option is selected
- Two 12V 5A DC power supplies with U.S. wall plugs, included with fan-equipped versions only
- Fully assembled electronics and 3D printed components
Power Supply Details
Fan-equipped versions include two 12V DC power supplies with U.S. wall plugs, one power supply for each fan. Each adapter is rated for 12V DC output and up to 5A / 60W.
The included adapters support 100–240V AC input and show FCC / CE / RoHS / UKCA markings. They are not advertised as UL-listed. International buyers may need plug adapters compatible with their local wall outlets.
Power supplies are not included with the Bring Your Own Fans version because power requirements depend on the fans selected.
Why Use a Wind Simulator?
A wind simulator adds a physical sense of speed to your cockpit. As your simulated vehicle accelerates, airflow increases. This can make open-wheel cars, prototypes, road cars, rally cars, and flight sims feel more alive and connected.
The Typhoon Wind Sim is especially useful because it delivers airflow from both sides of your wheelbase area while staying compact and clean. No long tubes. No giant duct outlets. No bulky hardware taking over your cockpit.
Custom Logo Option
By default, each fan pod includes the Typhoon Wind Sim logo printed on top.
You can also choose the custom logo option to replace the Typhoon Wind Sim logo with your own uploaded logo. The custom logo is printed on top of each fan pod, up to approximately 5″ x 5″ in size.
I may contact you if your uploaded logo is not suitable for printing, but custom logo orders do not automatically include a design proof.
Custom logo requirements:
- Please upload a clean, high-contrast logo file when ordering
- Simple, bold designs work best
- Very thin lines, tiny text, gradients, shadows, and complex photo-style artwork may not print well
- Single-color logos are strongly recommended
- The logo may be adjusted slightly for size, fit, or printability
The custom logo option adds $40 to the selected fan option.
Compatibility Notes
- Designed for Windows PC simulator use
- Designed primarily for aluminum extrusion sim rigs
- Intended to mount beside the wheelbase / wheel deck
- Requires USB connection to the PC
- Requires the free MAIRA app for direct iRacing support
- Support for other sims is possible through SimHub using the free MAIRA plugin
- Computer, cockpit, wheelbase, pedals, aluminum extrusion frame, and simulator software are not included
- Other mounting styles may be possible but may require DIY brackets or custom mounting
Important Notes
- This is a sim racing / flight simulation accessory, not a general-purpose room fan
- Fan-equipped versions include U.S. wall plug power supplies
- BYOF version does not include fans or power supplies
- Fan grills are included with all versions, including BYOF
- Bgears fans are loud at full speed
- 3D printed parts may have minor cosmetic layer lines
- Custom logos may be adjusted slightly for size, fit, or printability
- Each unit is assembled and tested before shipping
- Product appearance may vary slightly from the photos as I continue to make small improvements and refinements to the design. Any changes will be intended to improve fit, strength, usability, or performance while keeping the same core function and included components.
Cutaway View
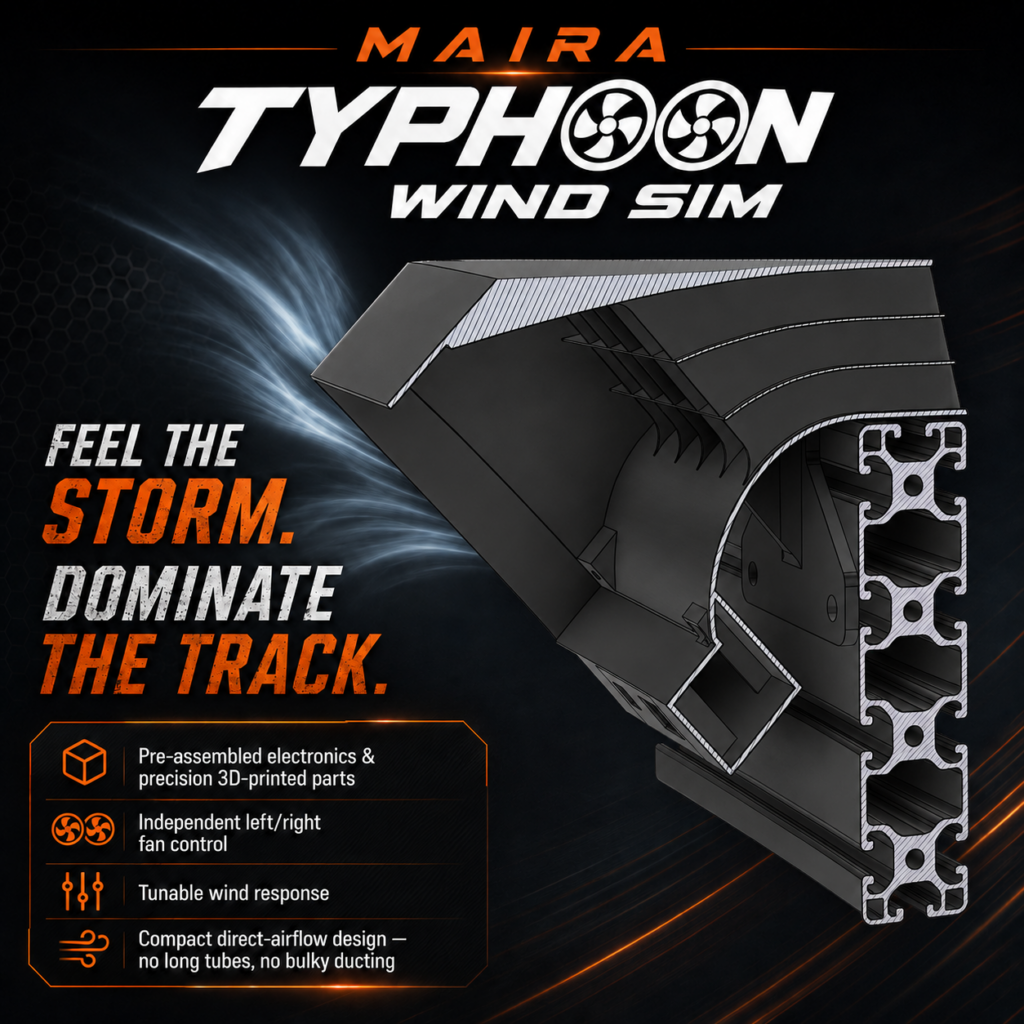
Works with extruded aluminum wheel deck set up either horizontally or vertically. With ahorizontally mounted wheel deck, there will be a 40mm space between the bottom of the fan exhaust and the top of the arm.
Software (MAIRA)