There are some common controls that you will find in MAIRA that need some explanation to be able to fully use them.
Configuring How a Setting is Saved
Some settings support context-based saving, meaning the same setting can have different values depending on what you’re driving and where.
If the setting supports it, you can right-click on the name of the setting, which will open up a configuration window.
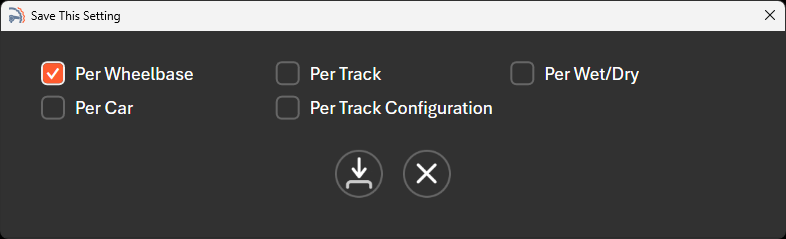
You can choose to save that setting:
- Per car
- Per track
- Per track configuration
- Per wet/dry condition
You can enable multiple at once. MAIRA treats the enabled switches as a combined “key”, so you can get very specific behaviors.
For example, selecting “Per car” + “Per wet/dry” means that not only will you have separate settings for each car, you will also have separate dry and wet settings for each car.
The car, track and track configuration switches form a hierarchy, and MAIRA only lets you turn them on from the top down. Per track is available only while Per car is on, and Per track configuration is available only while Per track is on. Turning off a switch turns off the ones underneath it. A track scope without a car scope would key the setting to the track no matter which car you were driving, which is almost never what you want — so that combination is not offered. Per wet/dry is independent of the other three and can be combined with any of them, or used on its own.
If you are coming from an older version of MAIRA that allowed those combinations, the first time your settings are loaded MAIRA corrects any it finds by turning the orphaned switches off.
Every setting saved this way ends up in a tuning profile. The Tuning Profiles page shows you every profile MAIRA has saved, what each one changes, and lets you revert, copy, promote, and clean them up.
The Status Display
In the top right corner of the MAIRA window, beside the page name, sits the status display. While the simulator is running it shows the car, the track, the track configuration, and whether the weather is Wet or Dry — in other words, exactly what MAIRA is tuning for at this moment. That matters, because it is the context your context-based settings are being saved into.
The display doubles as a button: click it to open the tuning profiles window, where you can see every profile MAIRA has saved and what each one changes.
When the simulator is not running, the display reads The iRacing simulator is not running with a red border — a reminder that there is no car or track to key on, so anything you change right now is going into the default profile. It also borrows the display to tell you when it is busy in the background, such as while it is checking for or downloading an update.
Infinite Slider Control
The infinite slider control is a unique control created for MAIRA, that is used instead of the standard slider control. The issue with the standard slider control, is that the resolution and range of values needed for many settings would require a slider that is much wider than your screen. The infinite slider control will work with whatever resolution the setting needs.
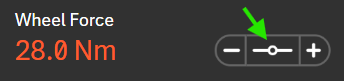
To use the infinite slider control, hold down the left mouse button while the cursor is above the infinite slider icon, and then move the mouse to change the value. Moving up and to the right increases the value, while moving down and to the left decreases it, so you can drag in whichever direction is most comfortable.
You can also nudge the value one step at a time with the + and − buttons on either side of the infinite slider. These buttons move the value in deliberately larger steps than dragging does — dragging changes the value very finely per pixel of mouse movement, while each click of a button applies a coarser, whole step. This makes dragging good for fine tuning and the buttons good for quick, repeatable adjustments.
If you want to set an exact value, click on the numeric value shown on the infinite slider. This turns the value into an editable text box where you can type the value directly and press Enter to apply it (or press Escape to cancel). For settings that are shown as a percentage, just type the percentage — MAIRA converts it for you.
Reset to Default Value
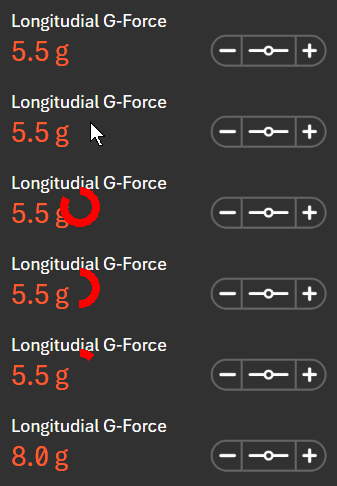
Many settings can be reset to their default value by holding down the right mouse button while the cursor is above the value of the setting. An animated icon will pop up showing a red circle that slowly disappears. Once the circle disappears, the setting will be reset to its default value. You can release the right mouse button at any time before the circle disappears, to cancel this action.
Input Mapping
You can map inputs (buttons, knobs, hats, and keys) on your wheel, button box, Stream Deck, or keyboard to most button controls, including those on infinite sliders. To do so, you would right-click on the button, and this will open up a configuration window.
Switches work the same way — right-click the switch itself (not its label, which is reserved for the context-based saving window) to map an input that flips it on and off. Anything that has an input mapped to it is drawn with an orange border, so you can see at a glance what is bound.
This works inside the FFB graph too. The knobs and switches on a graph module, and the module’s own on/off switch, can all be mapped, so you can reach in and adjust or disable an individual effect from the wheel while you are driving.
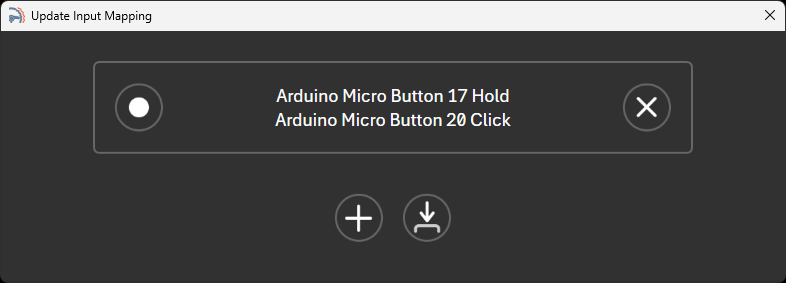
Press the record button, and then press any input on your wheel, button box, stream deck, or keyboard. You can optionally press a second input for hold + click behavior. Finally, press the save button to save your configuration.
You can also press the + button to add additional inputs to control the same setting.
Press the x button to remove the input mapping.
All of your button and input mappings are organized into named Controller Profiles, so you can keep more than one complete set of mappings and switch between them. The dedicated Controller Profiles page lets you create, rename, and delete profiles, and select which saved profile is active. This is handy when you use different wheels, button boxes, or Stream Deck layouts, or want separate mapping sets for different types of racing.
Pinning a Setting
The FFB graph on the Racing Wheel page can hold a lot of settings, and most of the time you only care about a handful of them. The small pin icon sitting just after a setting’s name is how you choose which ones. Click it to pin that setting, and a copy of it also appears in the FFB graph settings section, grouped under the name of the node it came from — so the settings you actually reach for are together in one place, with the node editor left closed. Pinned is orange, unpinned is gray. A module’s own on/off switch can be pinned the same way, so you can put a whole effect’s on/off up there.
The arrow buttons at the bottom of a module’s settings move that module’s group of pinned settings up and down, so you can put the things you touch most at the top.
Pins only show up on your own graphs. The built-in graphs come with a set of pinned settings already chosen, and no pins to fiddle with. You will also notice the pins are missing from the pinned copies themselves — that is on purpose, so a setting cannot be un-pinned from the one place you would then have trouble finding it again. Pin and un-pin from the module’s settings beside the node graph.
Curves
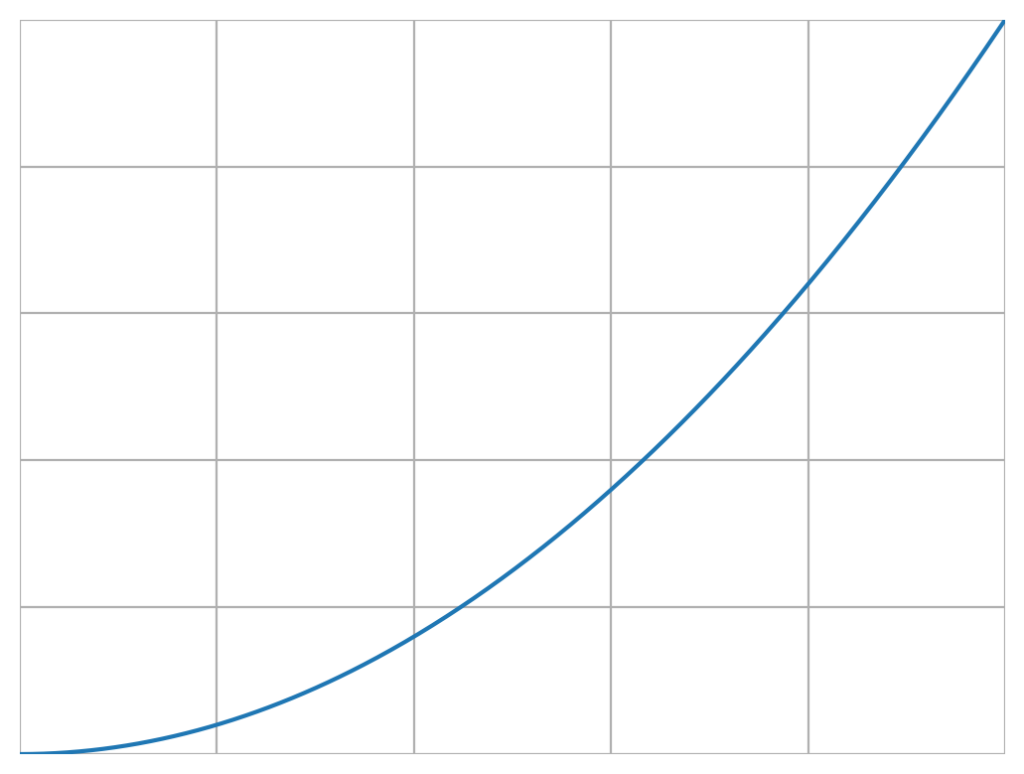
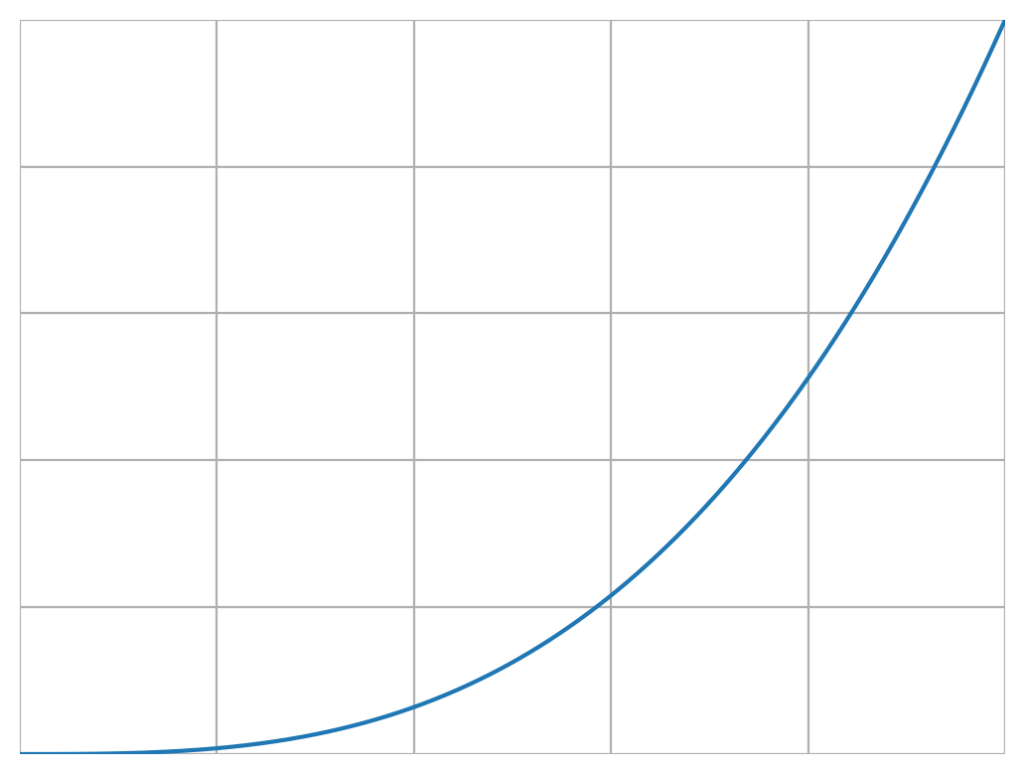
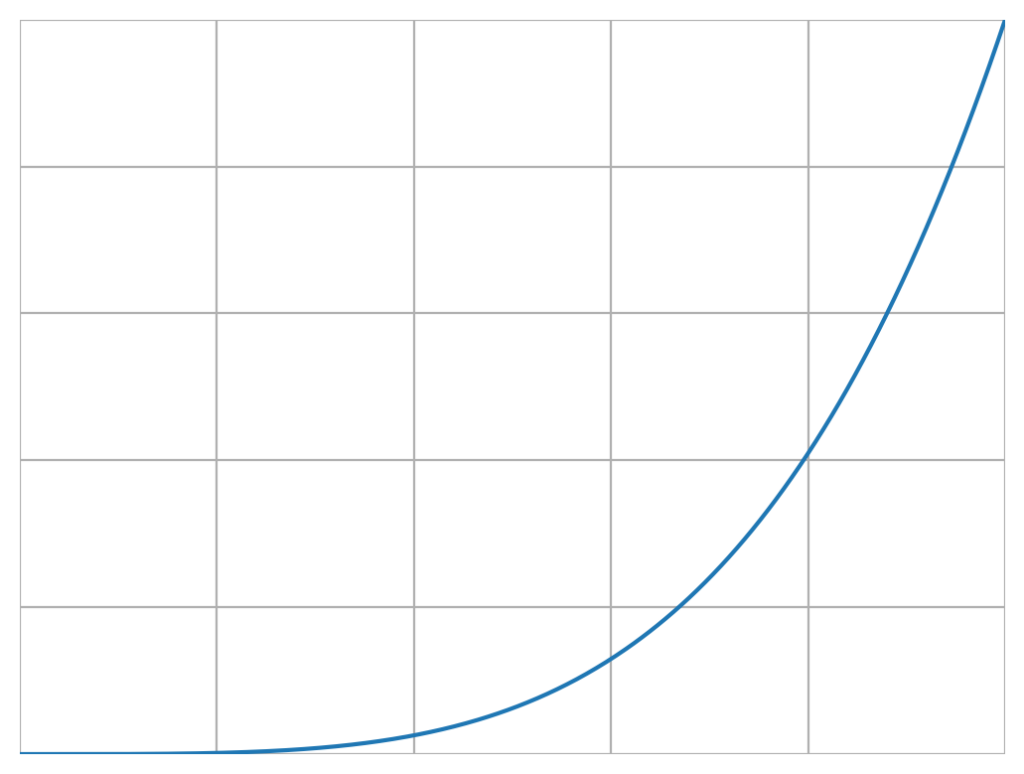
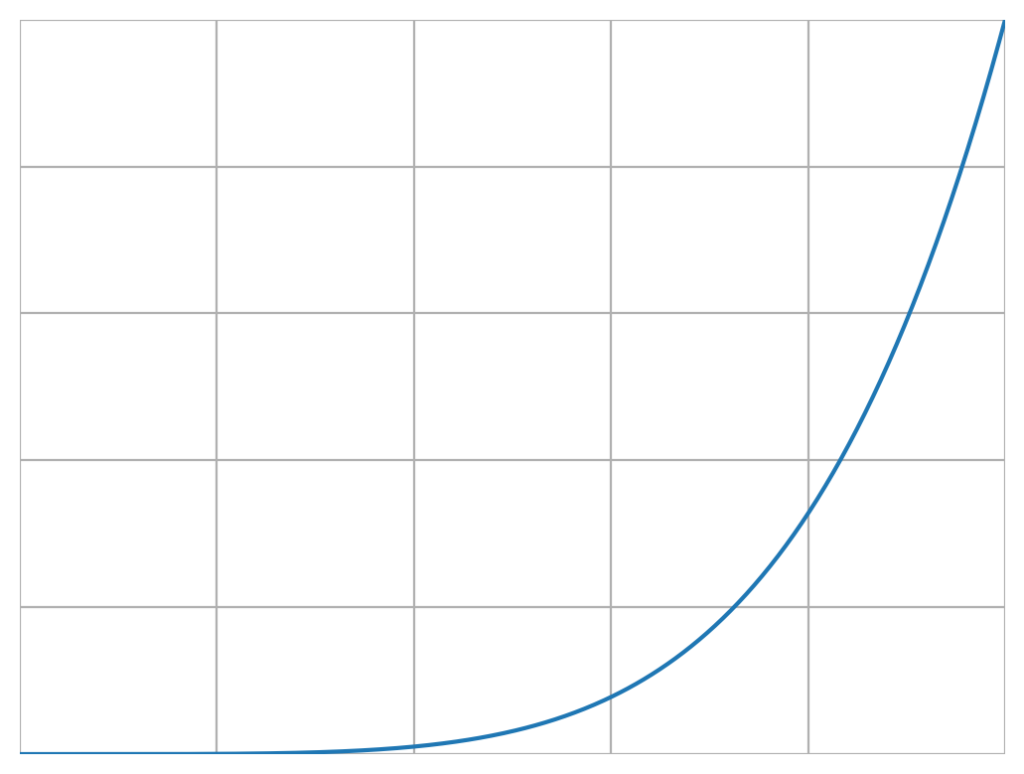
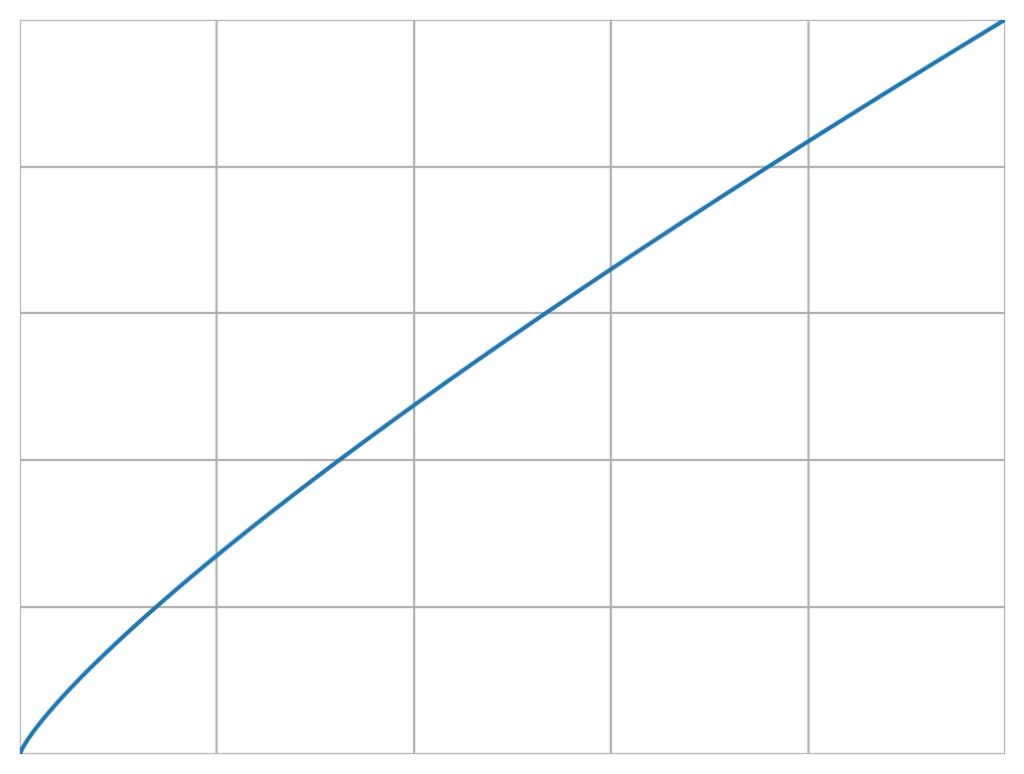
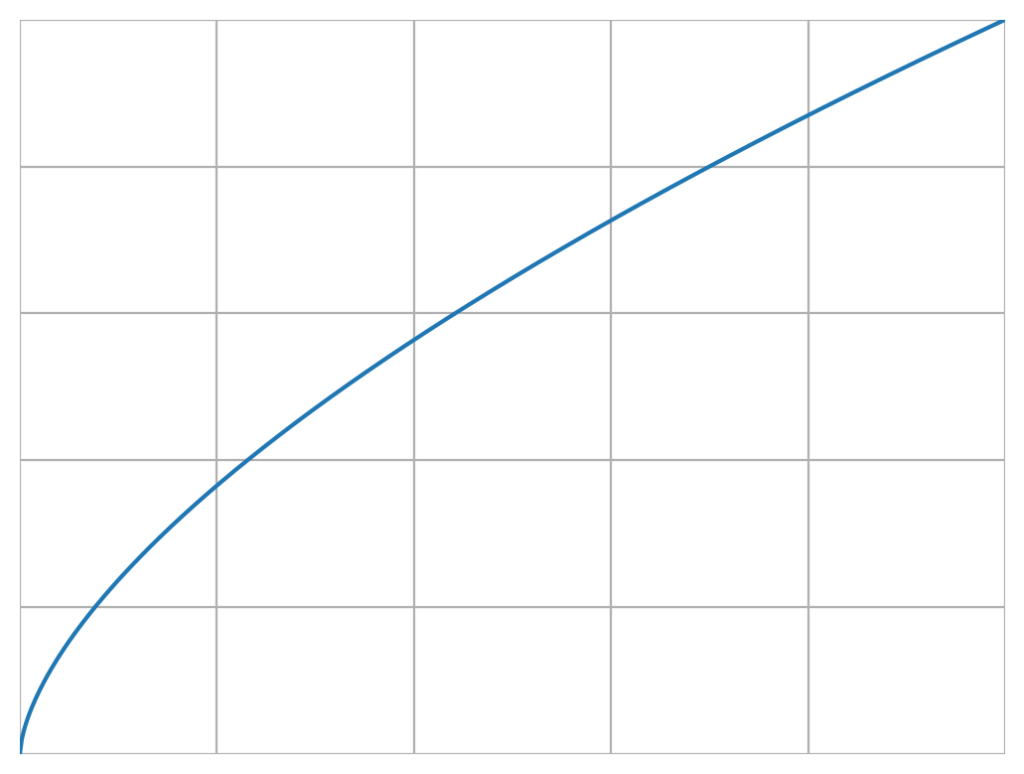
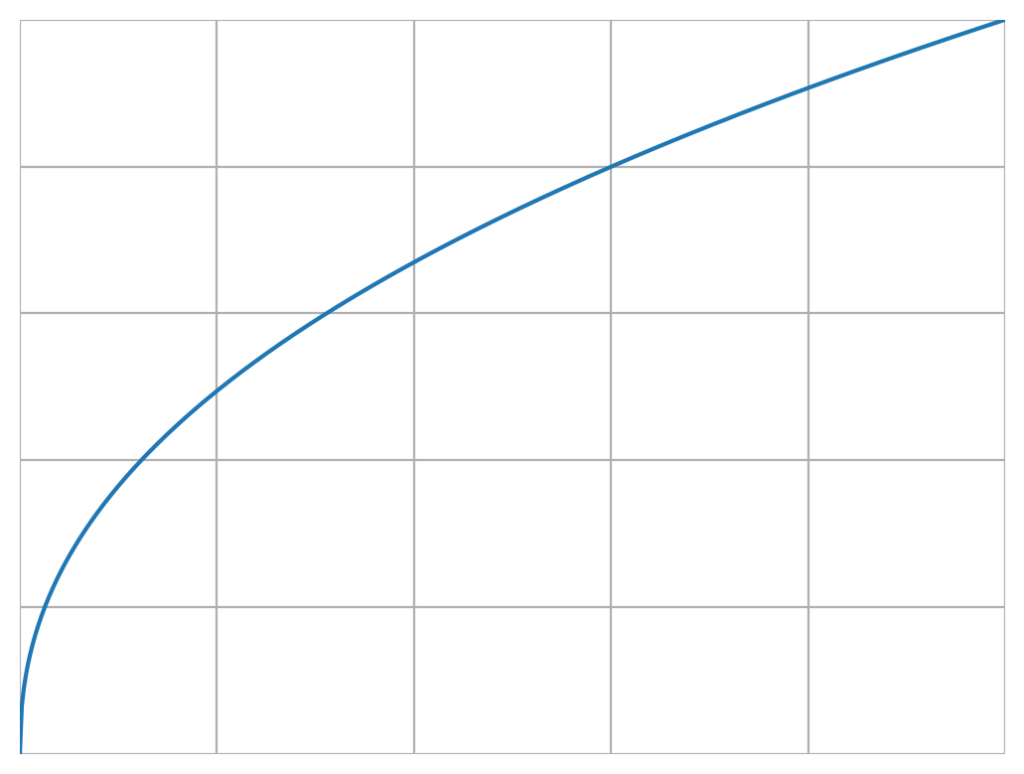
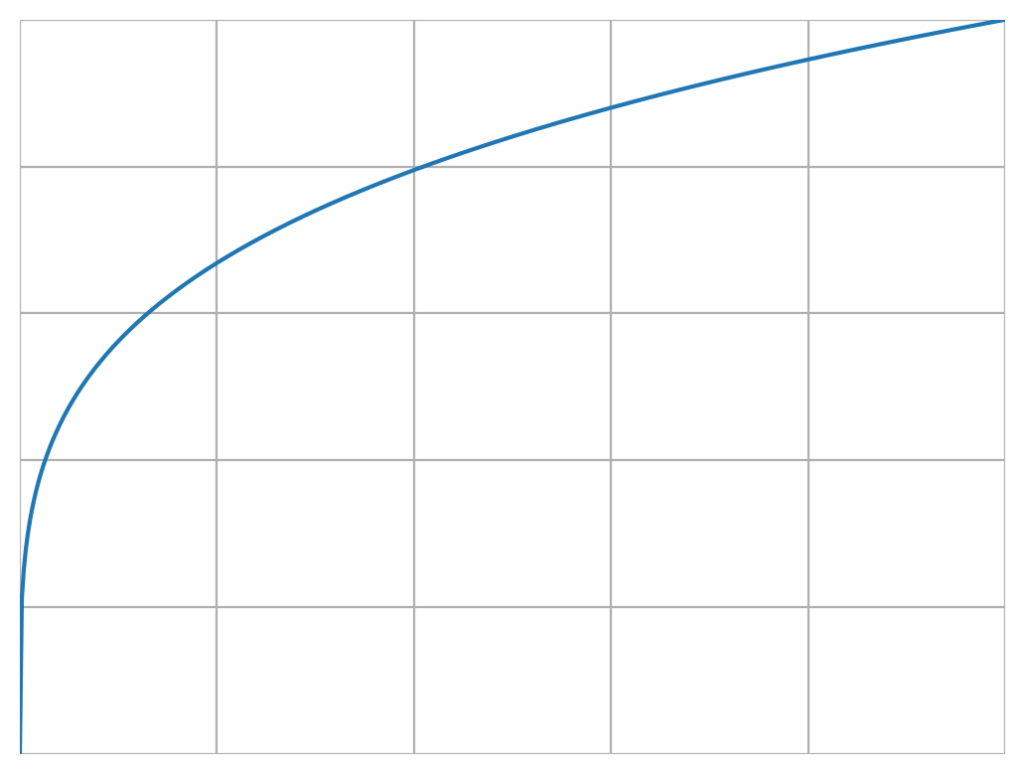
A few settings use an infinite slider to control a curve. These curves control how slowly or how quickly an effect ramps up. Positive values make the effect ramp up slower. Negative values make the effect ramp up faster. Setting the curve to zero (OFF) makes the effect linear. Here are a few images to illustrate what the various curve values look like –